![University of Idaho Library [logo]](https://www.lib.uidaho.edu/media/images/ui_library_horizontal.png)
Audio Recording and Editing Using Software Audacity
In this tutorial, we will cover the basics of using the open-source software Audacity and audio interface Scarlett 18i20 in the Studio to record and edit audio.
1. Preparation
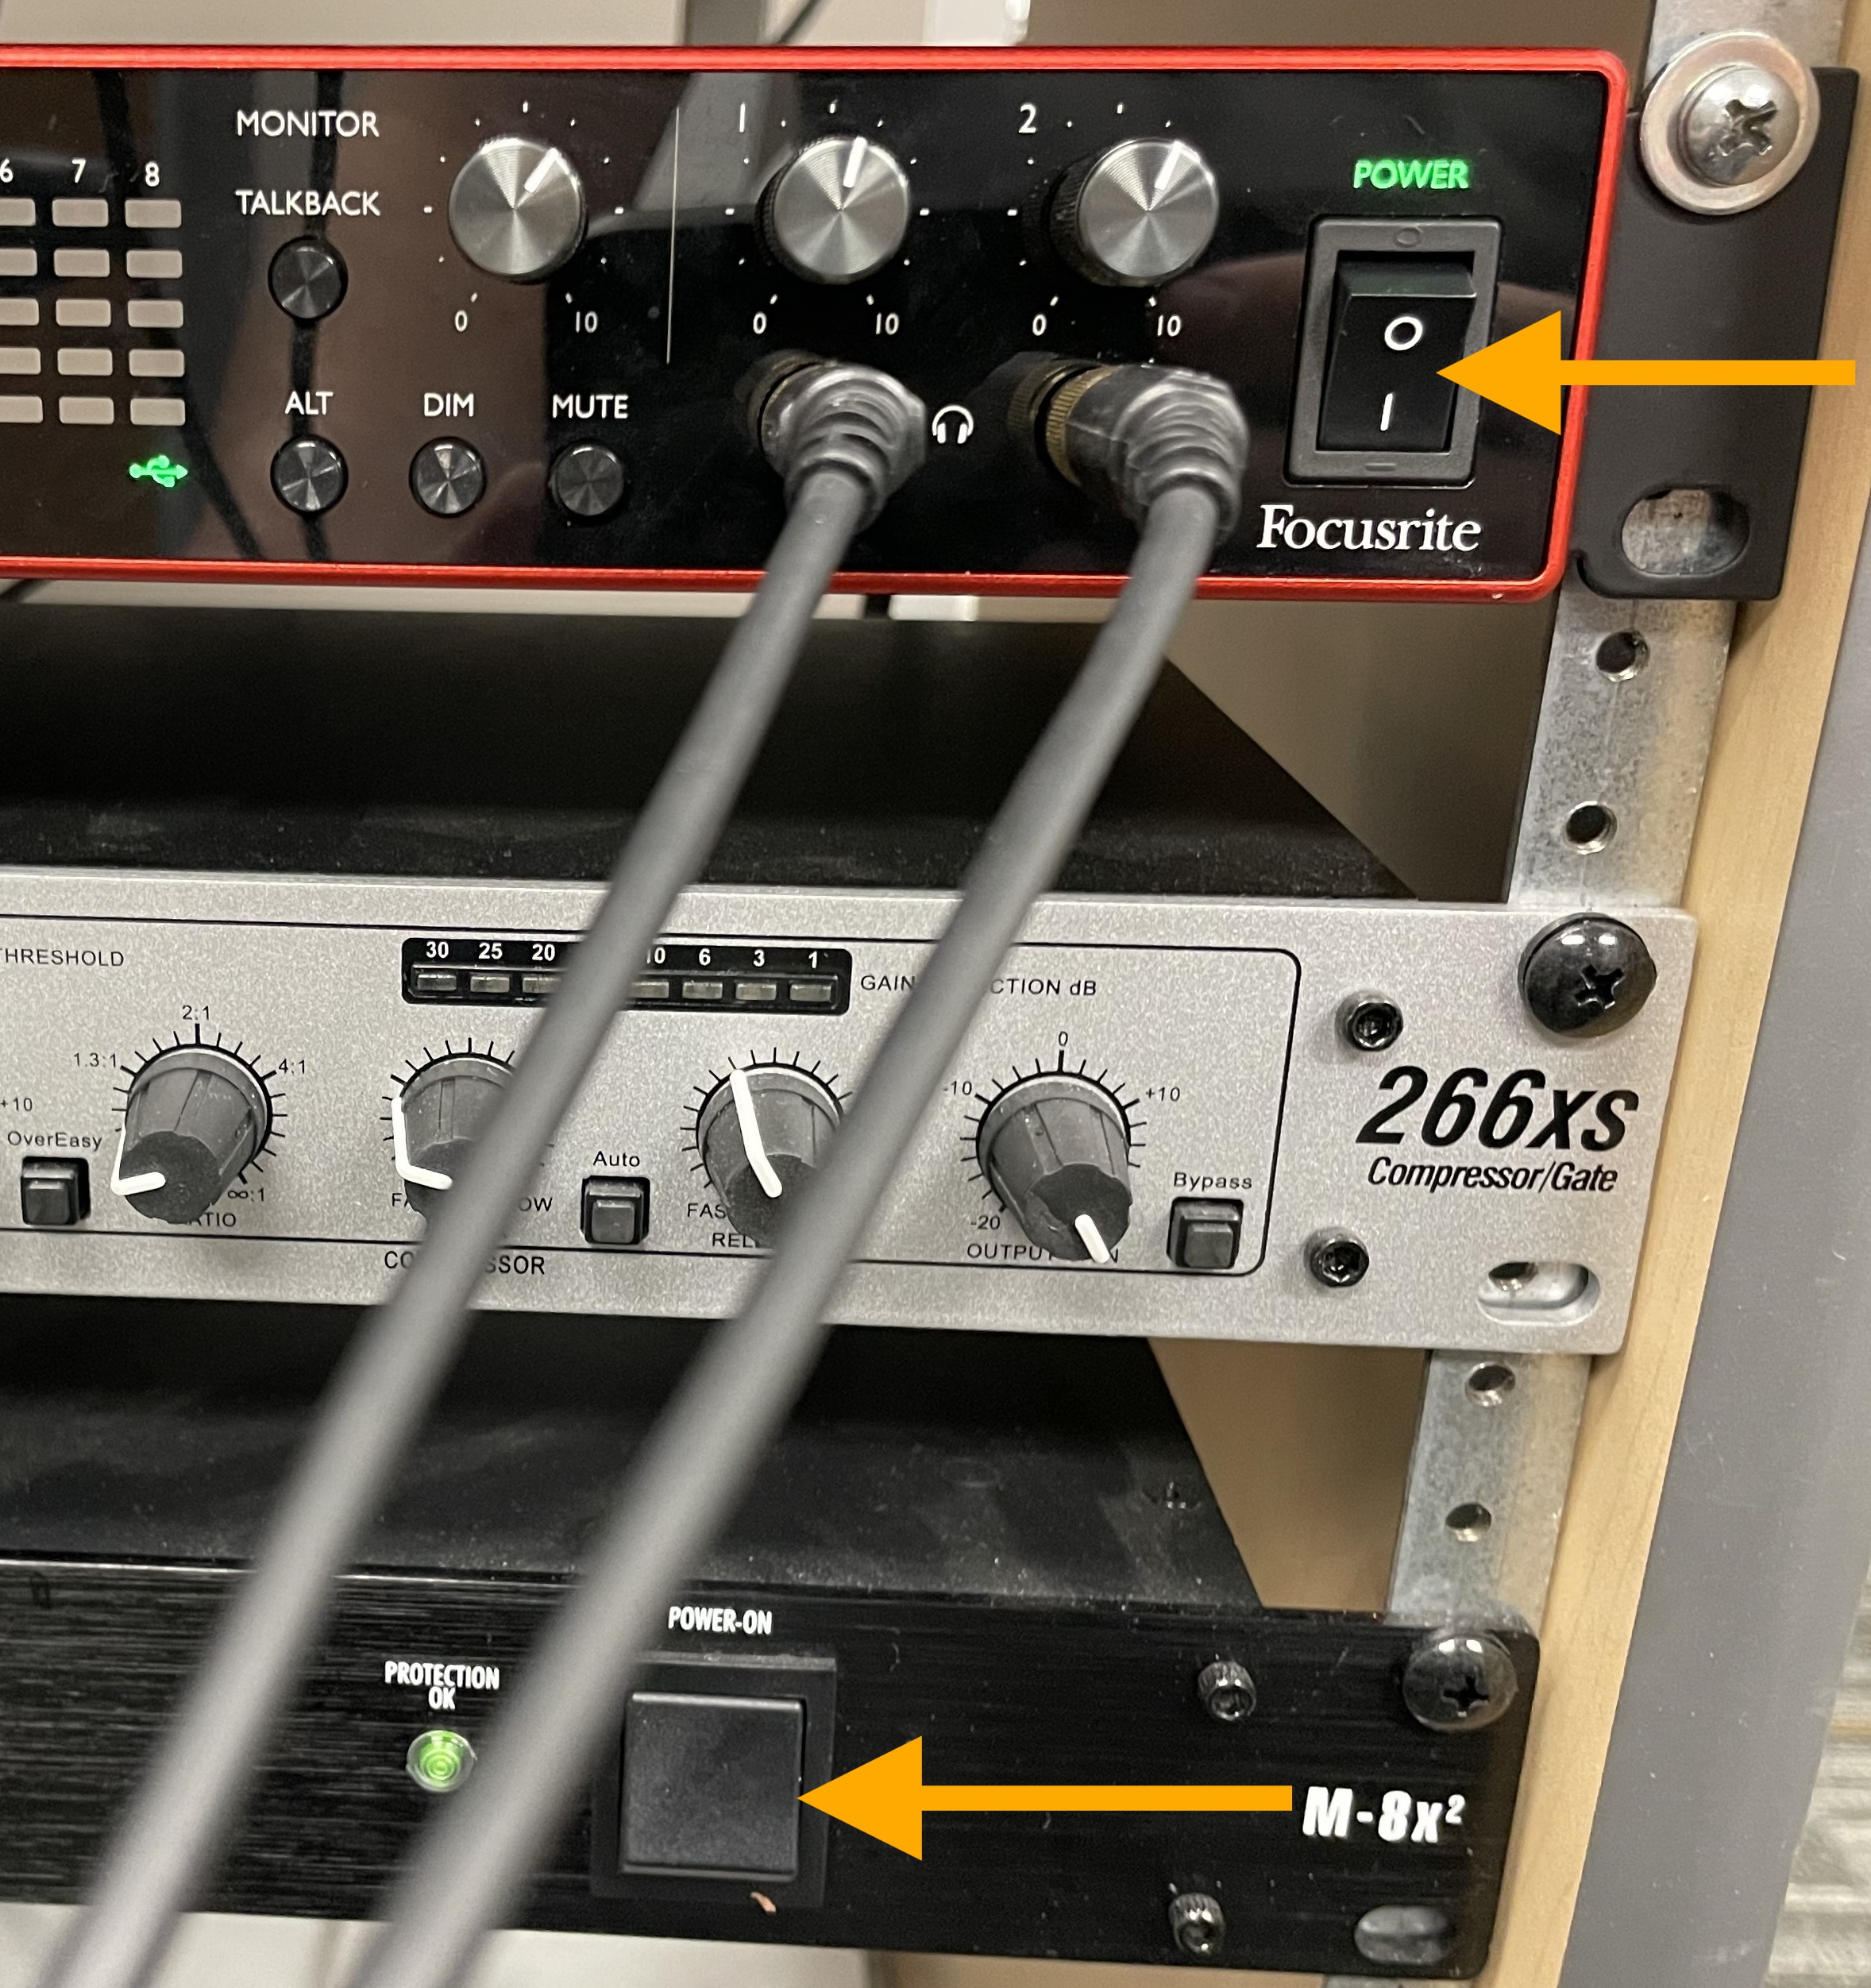
Turn on the audio interface Scarlett 18i20 (if it’s not already on). If pressing the power switch does not turn it on, first power on the Furman M-8X located below the Scarlett 18i20.
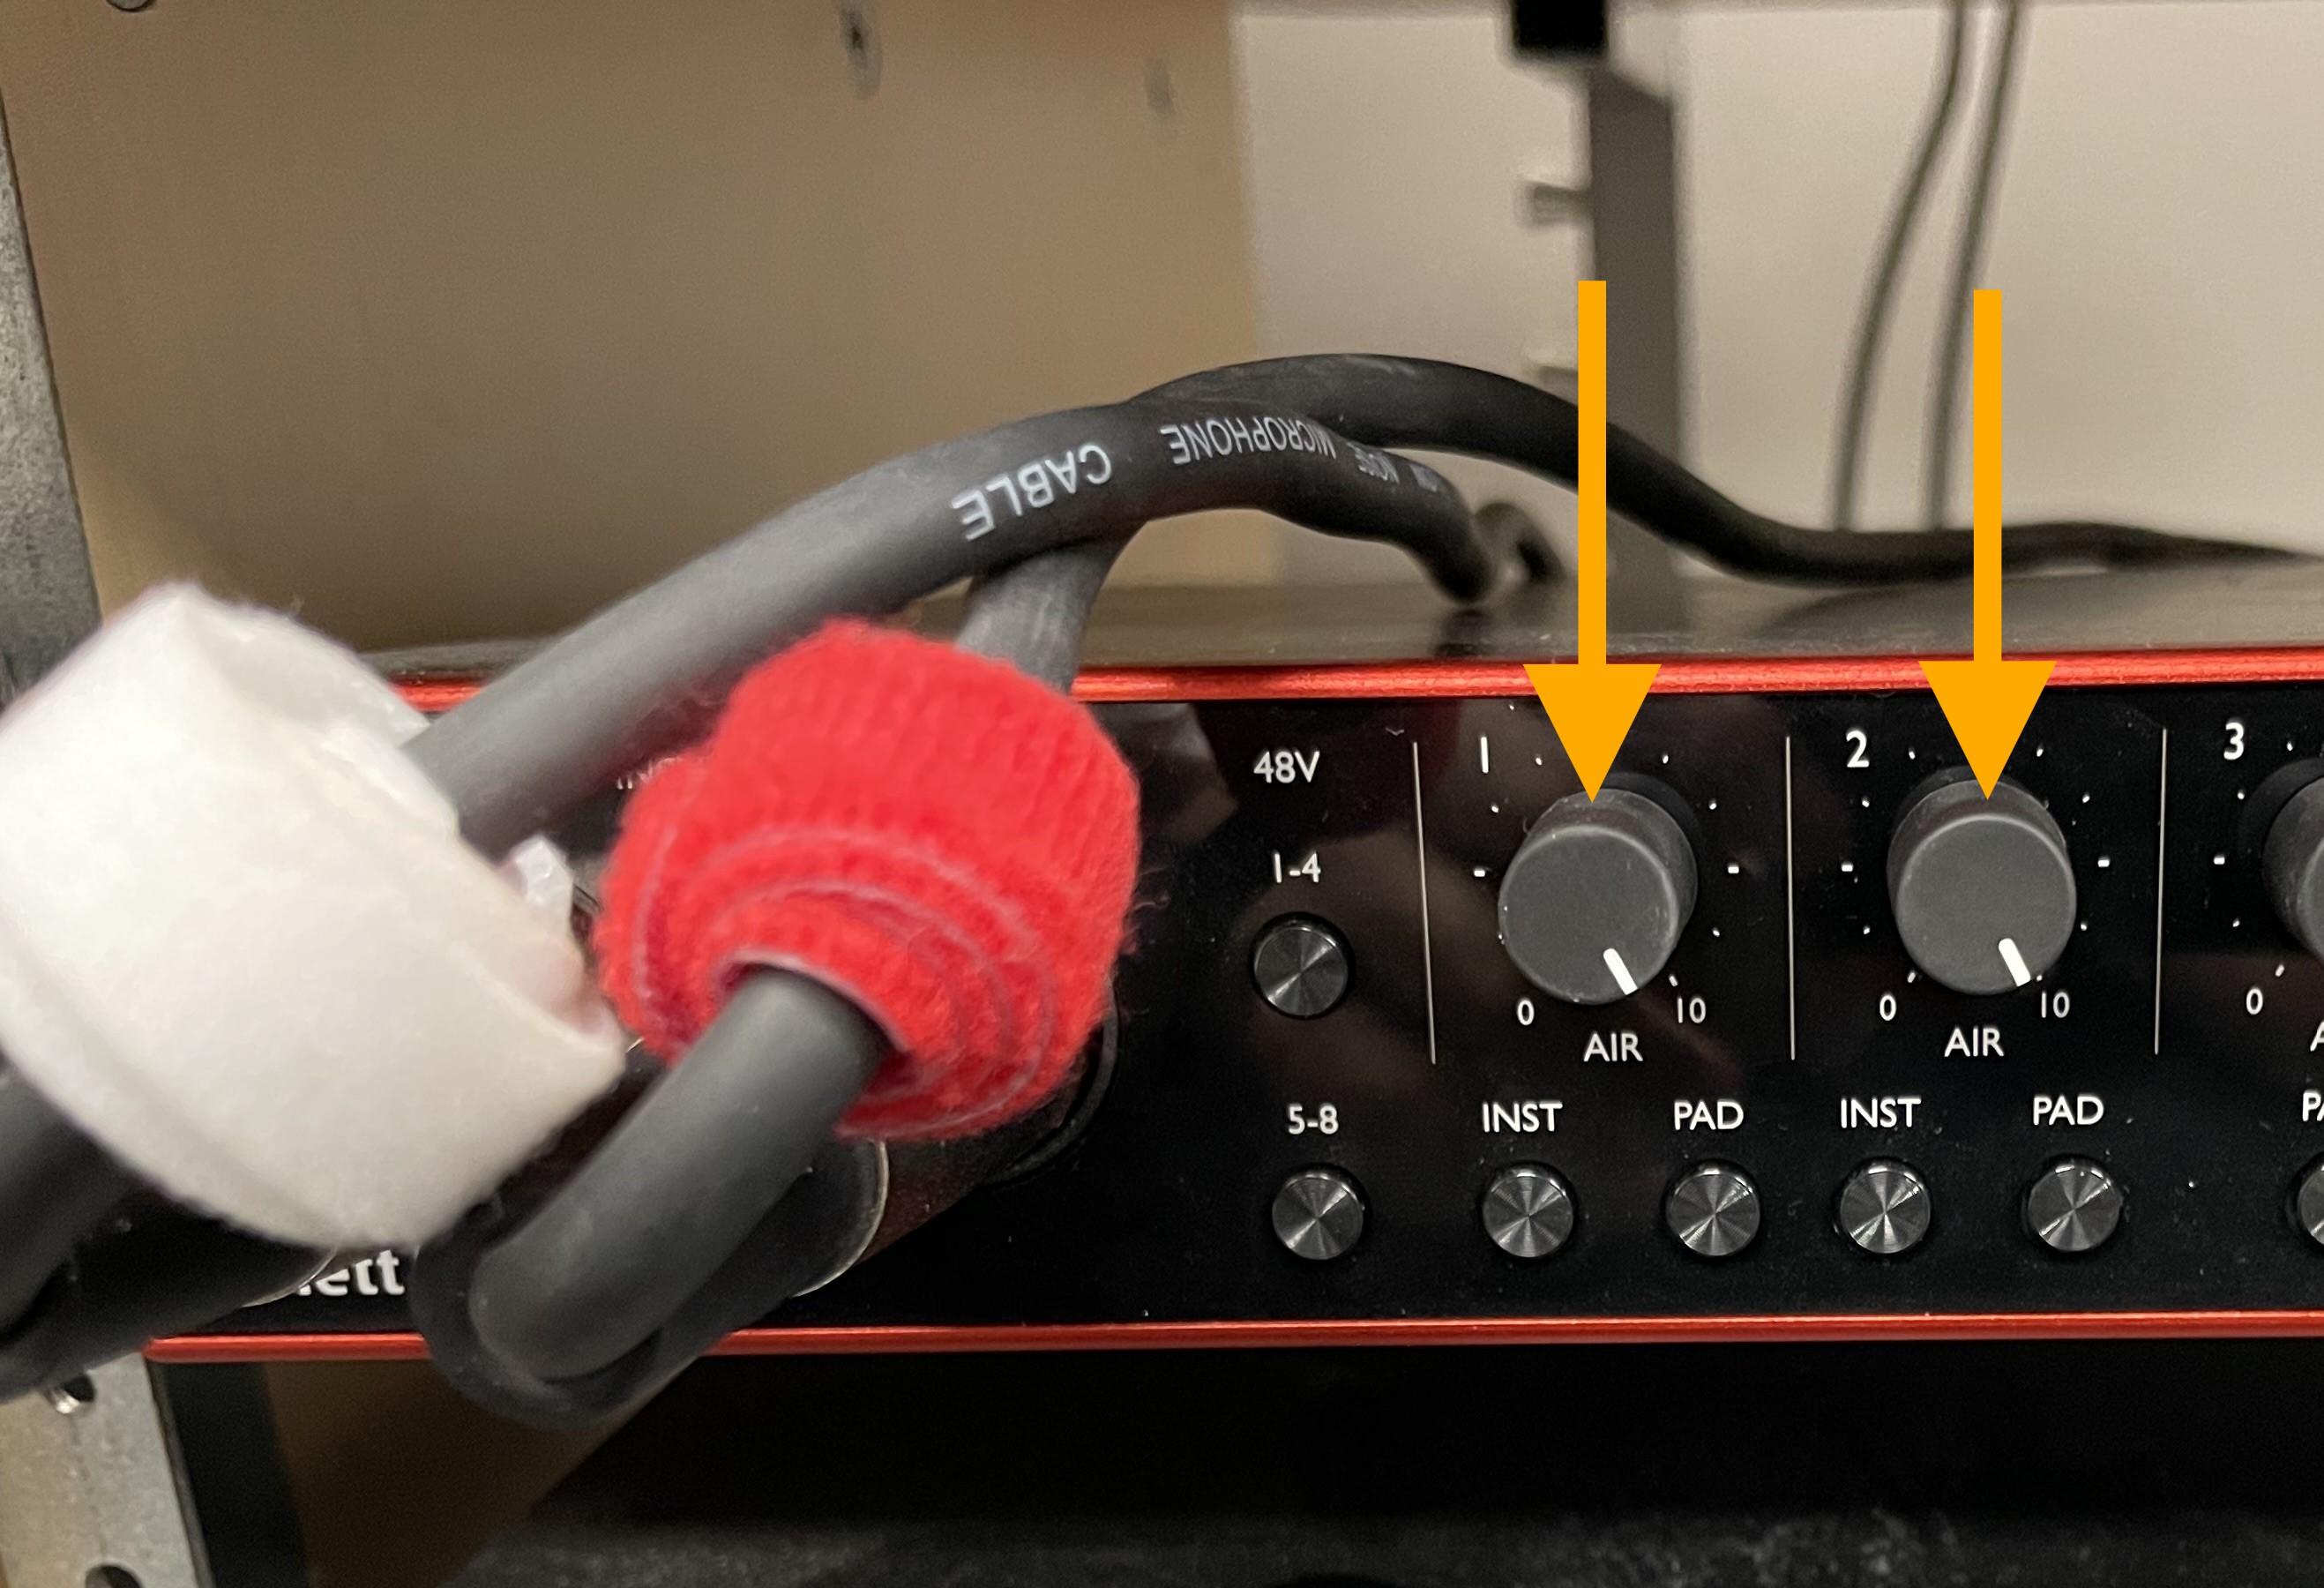
Turn the gain knob for Input 1 all the way to the right.
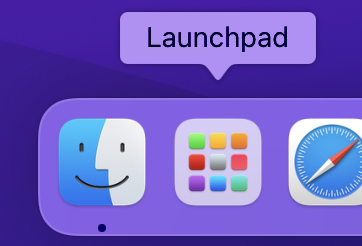
Open Audacity, which can be accessed in the Launchpad.
Ensure that both the recording device and playback device are set to Scarlett 18i20 USB.

To test your microphone, begin speaking at a comfortable level. Pay attention to the Recording Meter Toolbar (press the microphone icon to activate the recording level meter). The bars remain green until the signal reaches -12 dB then merge to yellow as the signal approaches -6 dB, which is a good maximum signal level to aim for.

2. Recording
To record, press the red Record button.

To stop recording, press the spacebar or the Stop button.

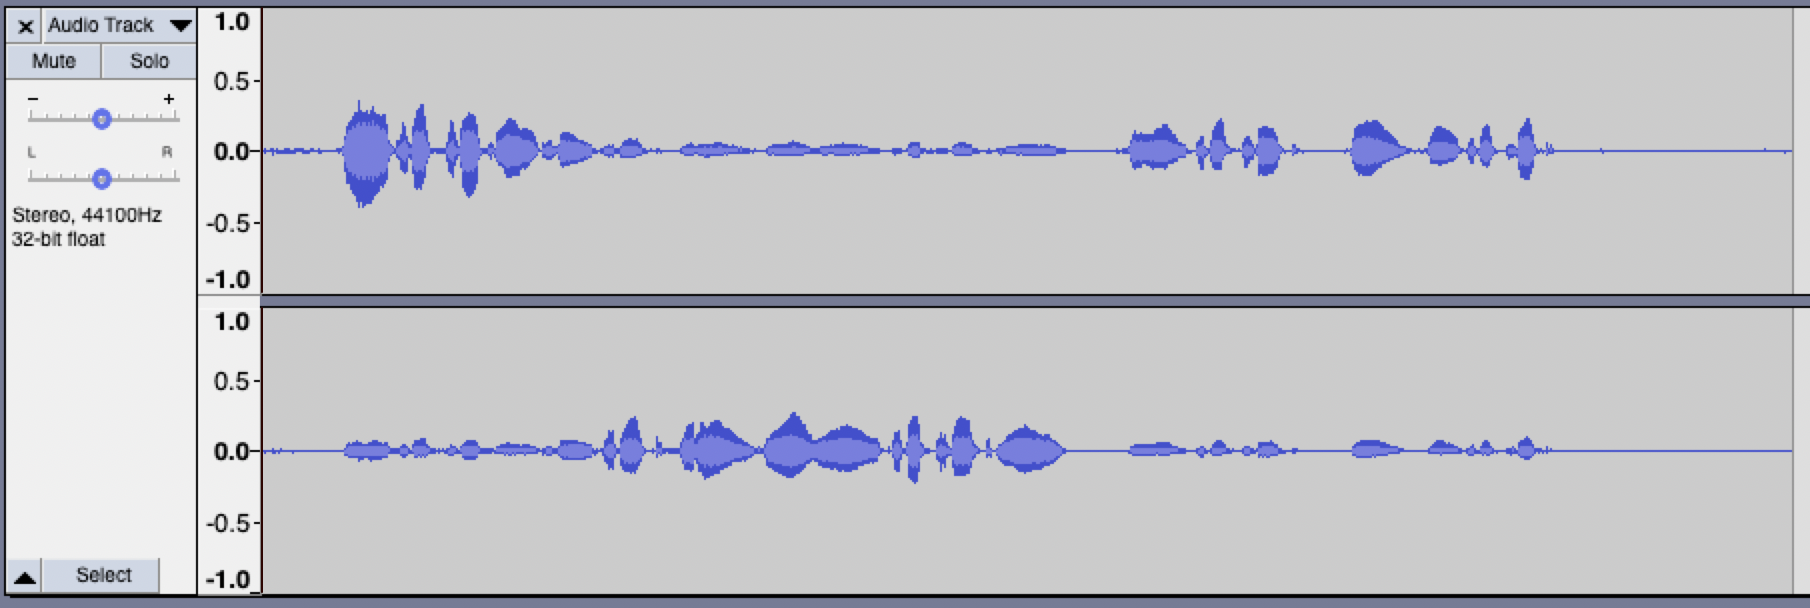
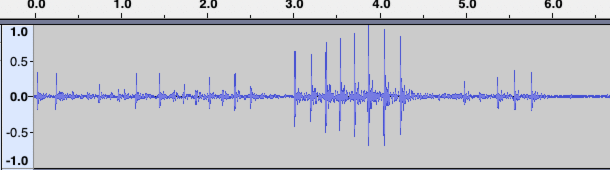
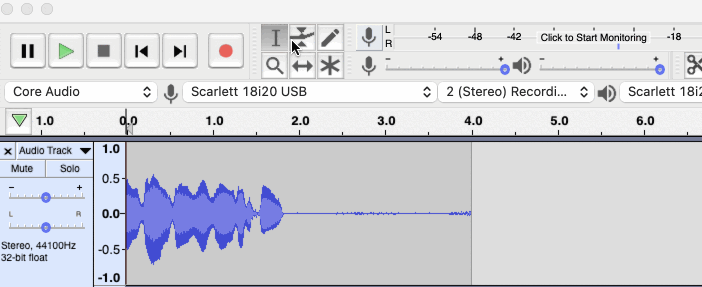
You will see a recording track containing a waveform of the recorded audio.
3. Editing
To delete any unwanted sounds, such as “Um”, “uh”, “mm” and other filler sounds and words, use the Selection tool to select the portion and press the delete key on the keyboard.
To change the position of an audio clip in time, use the Time Shift tool and drag it forward or backward on the track.

To fade in and fade out, such as intro and outro music tracks, and make micro-adjustments to the audio files, use the Envelope tool.
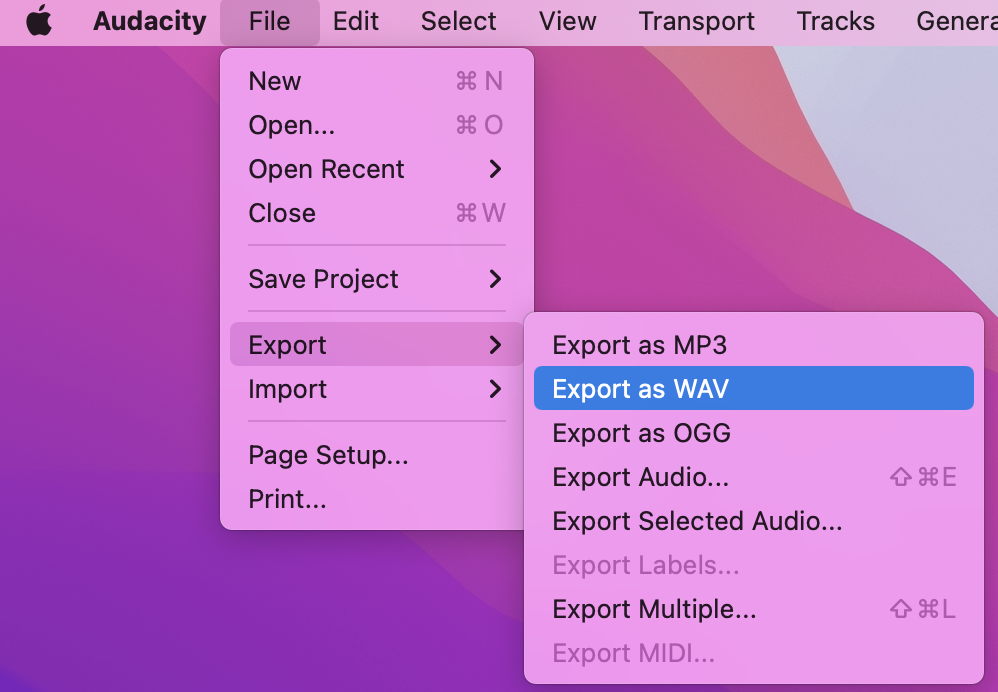
4. Exporting
Go to File > Export > Export as WAV to export the uncompressed, best quality file, or File > Export > Export as MP3 to export the compressed, smaller-sized file optimized for sharing.
For more information, visit the official How-Tos and Tutorials for Audacity.