Podcast and Voiceover Recording Using RØDECaster Pro II
Podcast and Voiceover Recording Using RØDECaster Pro II
In this tutorial, we will cover the basics of using RØDECaster Pro II to record a podcast or voiceover.
1. Getting Started: Power & Setup
Press the red Power button located on the rear panel of the RØDECaster Pro II to turn on RØDECaster Pro II.
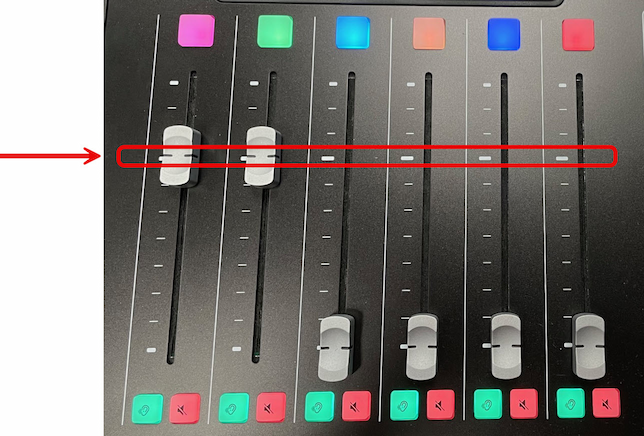
Push faders up to the thick white line—this is called unity gain (0 dB gain or no change to the input signal's level).
A close-up of RØDECaster Pro II with unity gain line
Put on the headphones and speak at your natural recording volume and distance from the mic. Watch the level meter on the touchscreen go up and down (Note that the level meter on the touchscreen does not include the minus signs):
level meter
Aim for peaks between –6 (dBFS) and –3 (dBFS)
Average around –12 (dBFS) to –15 (dBFS)
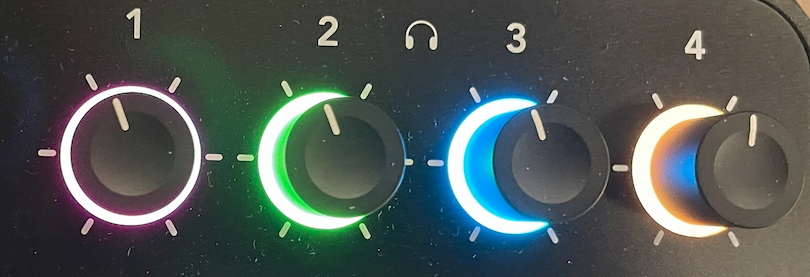
Adjust your fader up or down if needed to stay within this range. (Make note of the labels of mics and headphones that are color-coded: pink and green on channel 1 and 2)
Use the knob to adjust the headphones volume to a comfortable level.
Headphone knobs
Repeat this process for each mic that you are using to record.
2. Recording Audio
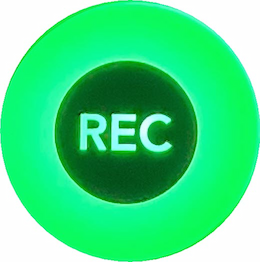
To start the recording, press the REC button on the left of the touchscreen. The button will turn red. A timer will appear on the touchscreen to show the elapsed time.
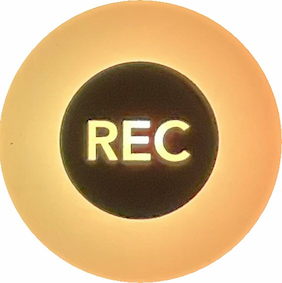
To pause the recording, press REC once. The button will turn orange. Press REC again to resume.
To stop the recording, press and hold the REC button until it turns green.
3. Playback & Review
Tap the Show icon (top left of the home screen).
Show icon
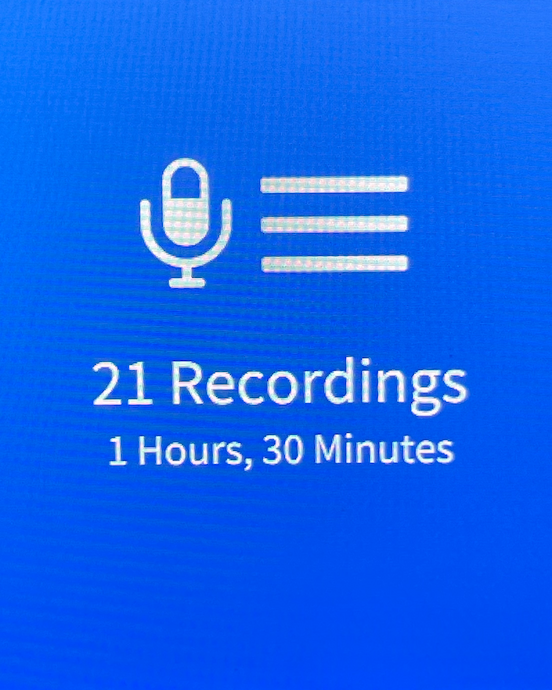
Select Recordings to view a list of files.
Recordings
Tap the file with the highest number (usually the most recent), then tap the Play icon to listen.
4. Exporting Audio
Eject the Flash Drive
Your recording is saved on a USB flash drive labeled “Studio” (with USB-C and USB-A connector).
On the touchscreen, tap the home icon on the top right corner to return to the default home screen, then tap the flash drive icon on the top middle of the screen, then tap Eject.
Transfer Files to a Computer
Unplug the drive and use the USB-A (or USB-C) connector to plug the drive into a laptop.
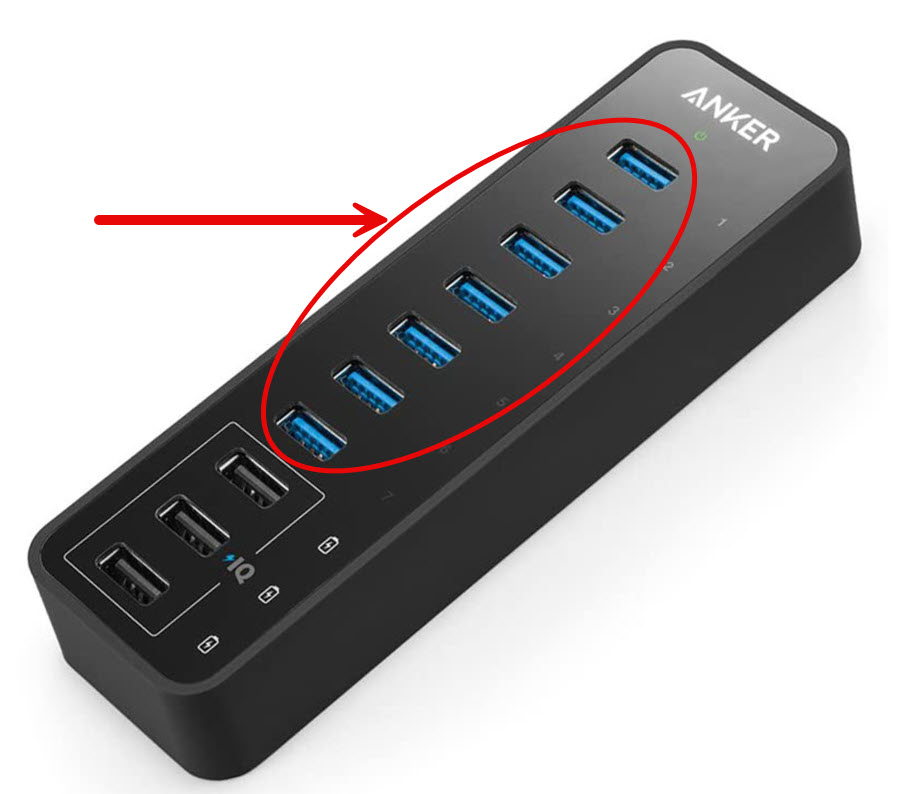
If you are using the Studio iMac computer, plug the flash drive into a blue port on the Anker Data Hub.
Blue ports on the Anker Data Hub
Locate Your Files
Navigate to the RODECaster folder on the drive. The folder with the highest number is the newest recording session.
You’ll find:
Stereo Mix.wav – a stereo mix of the entire session
Track1-Mic 1.wav, Track2-Mic 2.wav, etc. – individual mic tracks
Tip: Use the individual tracks for more flexibility in post-production.
Wrap Up
Once you've transferred or uploaded your files (e.g., to OneDrive), eject and unplug the flash drive from the computer and reinsert it into the RØDECaster Pro II. Turn off RØDECaster Pro II by pressing the red Power button.
Quick Tips & Troubleshooting
Low levels? Recheck the mic connection and slowly raise the fader from the unity gain line. Be sure to also check out Tips on Microphone Technique.
Flash drive not detected? Unplug and reconnect or try a different port.
Returning later? Save a copy of your work elsewhere. Files saved on the flash drive will be deleted periodically.
![University of Idaho Library [logo]](https://www.lib.uidaho.edu/media/images/ui_library_horizontal.png)
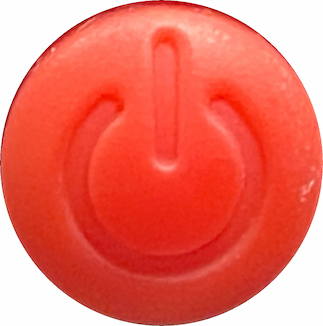 located on the rear panel of the RØDECaster Pro II to turn on RØDECaster Pro II.
Push faders up to the thick white line—this is called unity gain (0 dB gain or no change to the input signal's level).
located on the rear panel of the RØDECaster Pro II to turn on RØDECaster Pro II.
Push faders up to the thick white line—this is called unity gain (0 dB gain or no change to the input signal's level).

 A timer will appear on the touchscreen to show the elapsed time.
 Press REC again to resume.
 on the top middle of the screen, then tap Eject.